Cursor IDE Interface Overview
Learn to work through the Cursor IDE and customise its core settings. This lesson provides a tour of the interface.
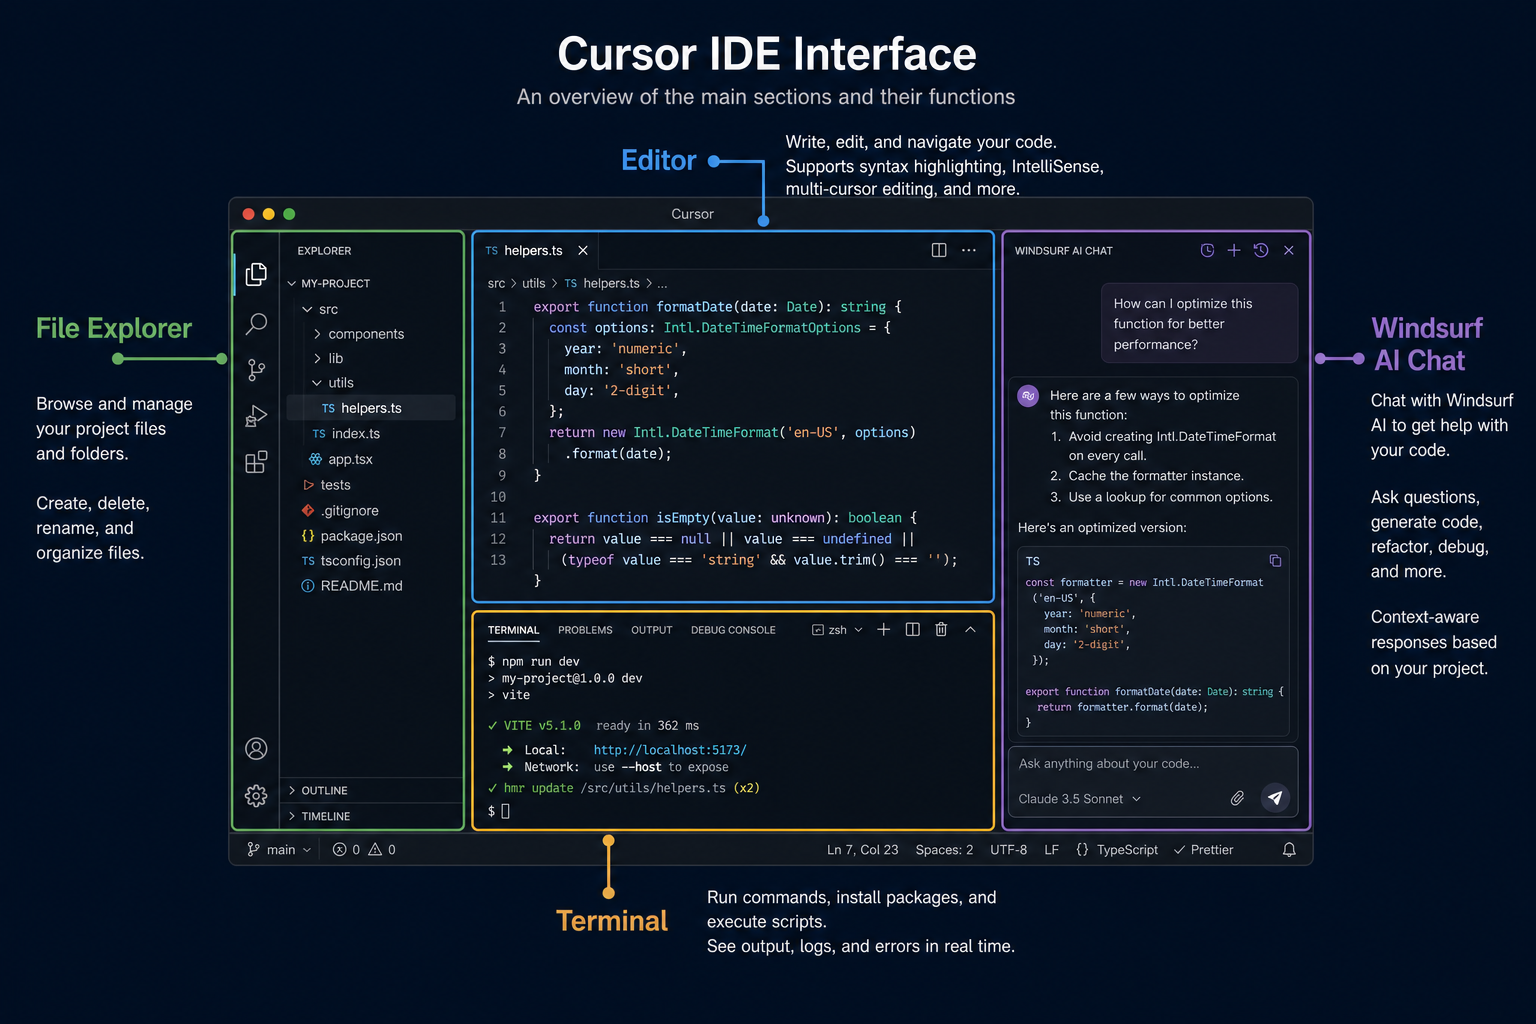
Customising Your Settings
The Cursor IDE is highly customisable. You can adjust settings like font size, theme, and keybindings to suit your preferences.
These customisations improve your coding experience. A comfortable environment means more efficient work.
The Cursor IDE is your coding cockpit. Learn the layout to fly faster.
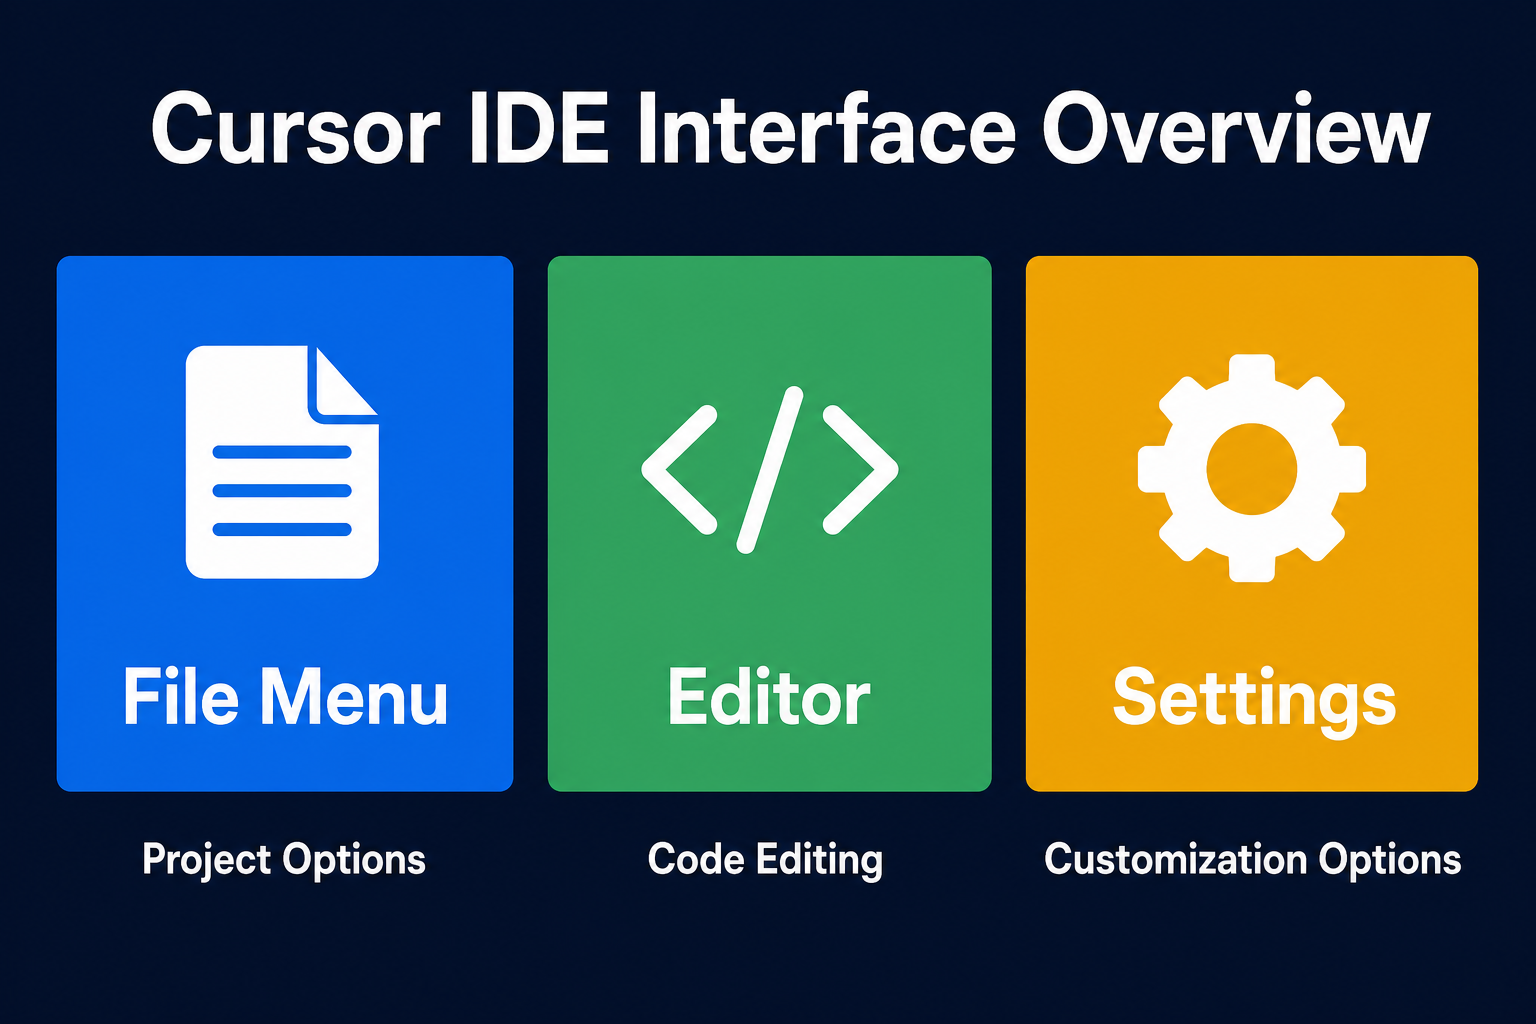
This diagram breaks down the core building blocks of Cursor IDE Interface Overview so you can see how each part connects.
See the key areas of the Cursor IDE in action. This video gives you a visual overview before we start.
Cursor IDE Interface Tour
A quick tour of the Cursor IDE. Understanding the layout will boost your coding speed.
Which section of the Cursor IDE allows you to manage your project files?
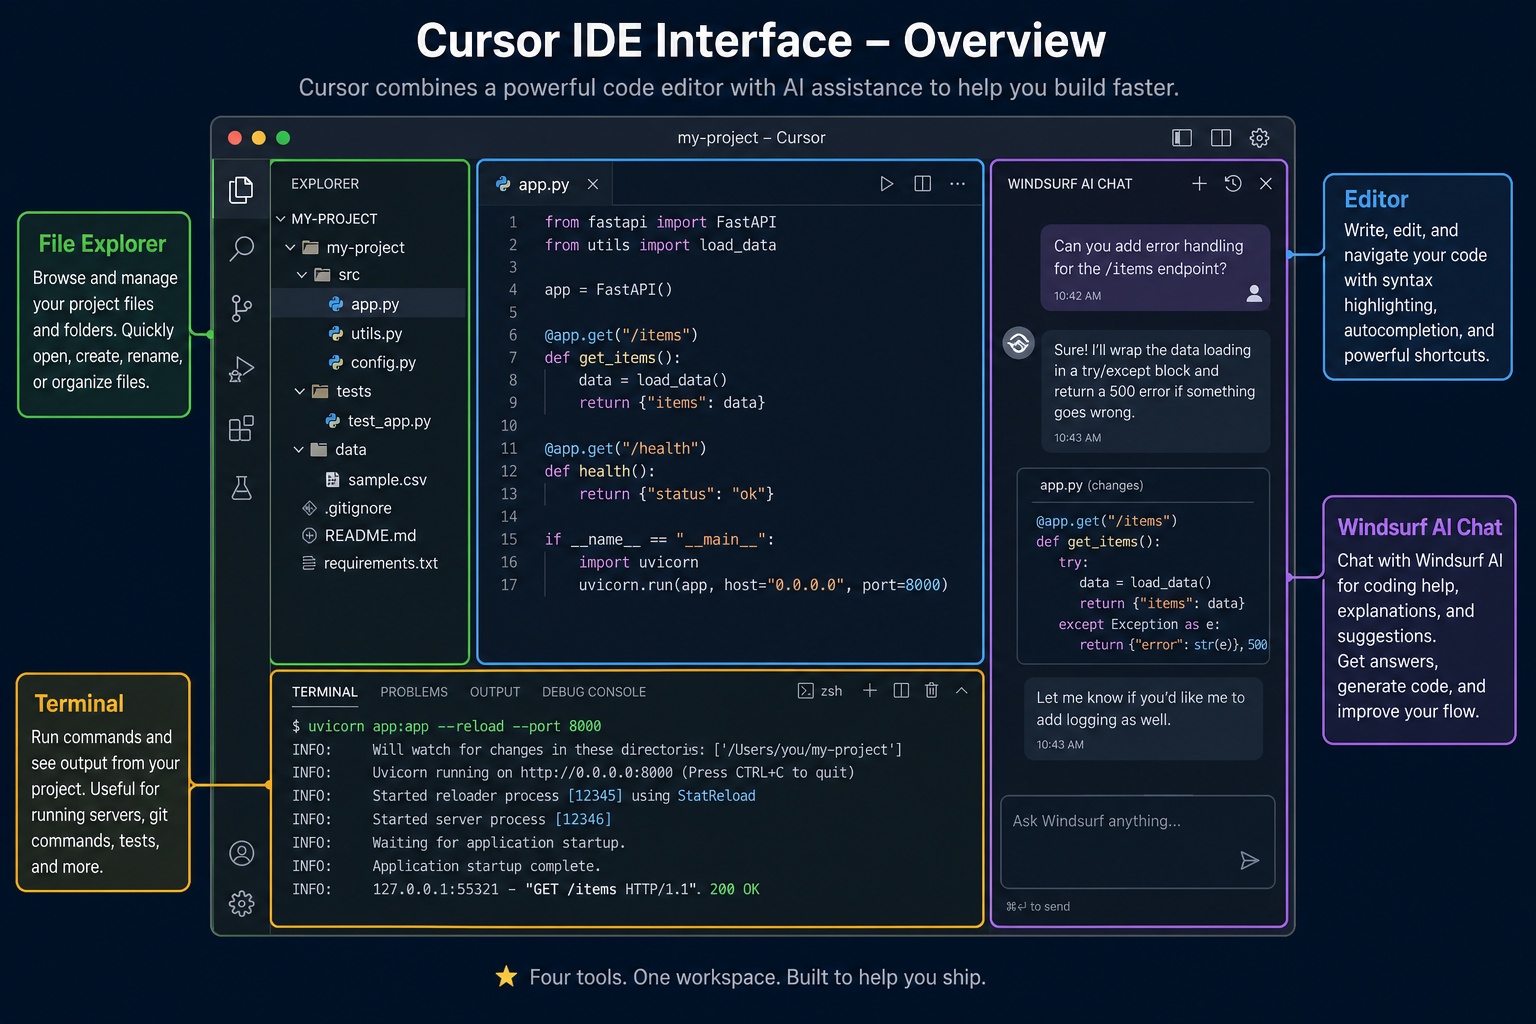
Key Sections of Cursor
Terminal and File Management
The integrated terminal is a effective tool. It allows you to run commands directly from the IDE, simplify your workflow.
Effective file management is crucial for any project. The File Explorer helps you keep your code organised and accessible.
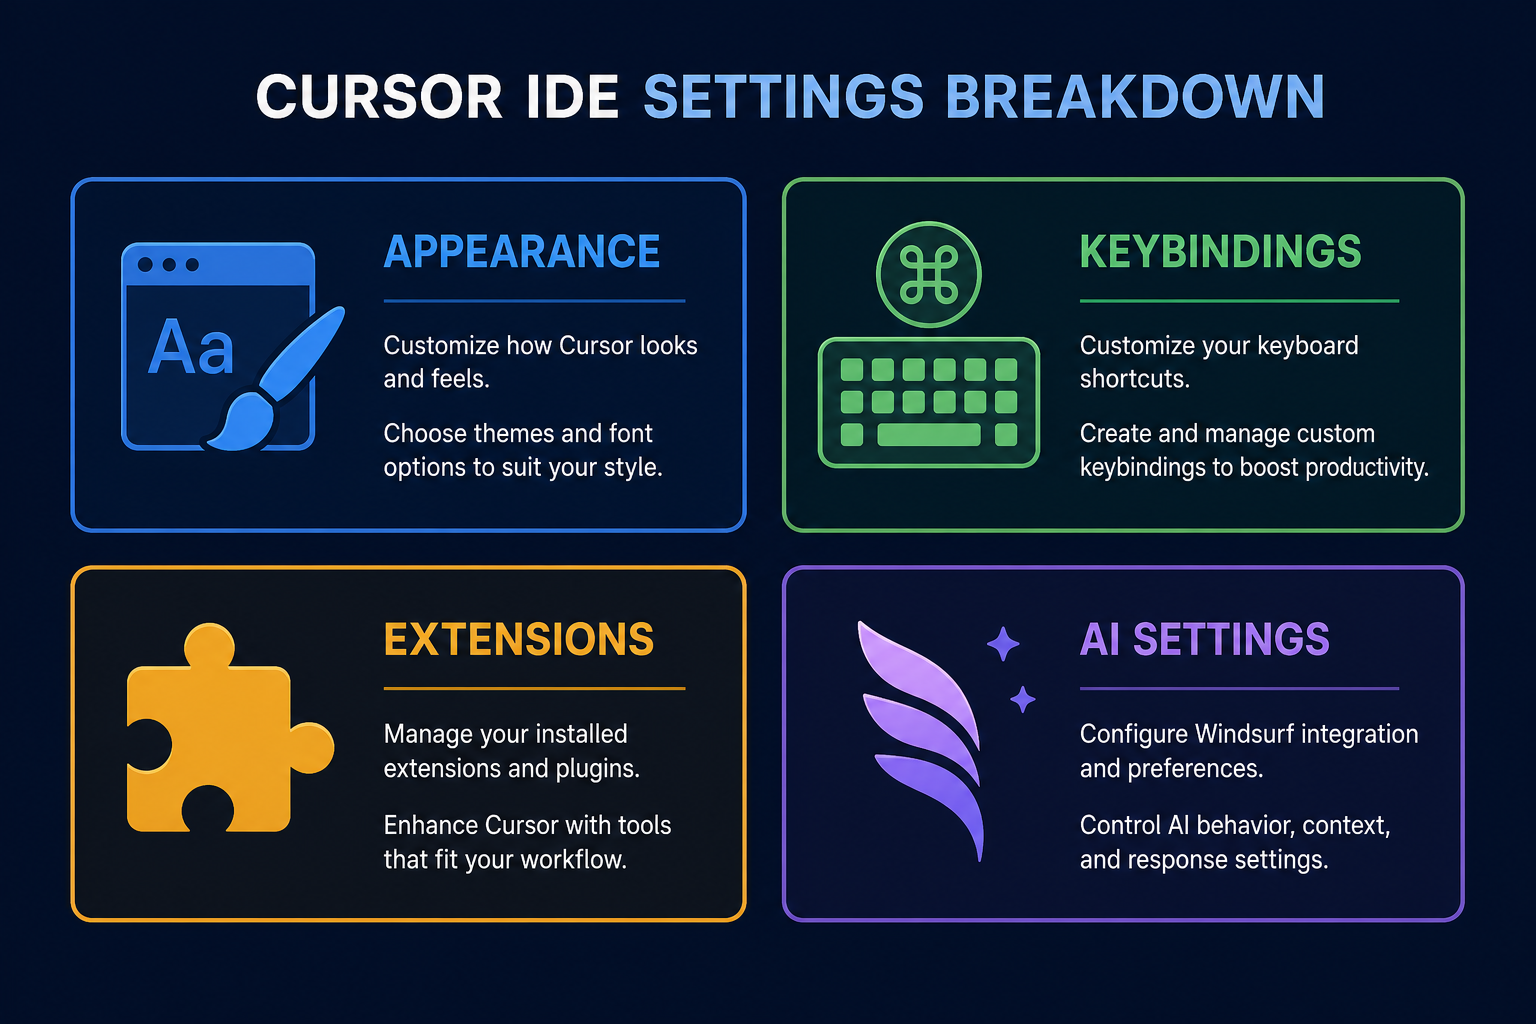
Adjusting settings can significantly improve your workflow. Tailoring the IDE to your preferences makes coding more enjoyable and efficient.
From Manual to AI-Assisted Coding
This contrast highlights the benefits of AI-assisted coding. Windsurf AI simplify the development process, reducing errors and speeding up development.
Tailor your settings for maximum efficiency. A few tweaks can save hours of time.
Keep your projects organised. A clean structure prevents confusion and errors.
Use Windsurf AI to generate and debug code. It's like having a coding partner.
Watch a demonstration of customising Cursor settings. This shows how easy it is to personalise your coding environment.
Customising Cursor Settings
See how to change font size and themes in Cursor. Personalising your IDE makes coding more comfortable.
Maximising IDE Efficiency
The Cursor IDE is designed to boost your productivity. By understanding the layout and customising your settings, you can code more efficiently.
Mastering the IDE is key to use Windsurf AI. A well-organised workspace allows for smoother AI integration.
If you remember only three things…
IDE Layout
The Cursor IDE is divided into key sections. Knowing where to find each tool speeds up your workflow.
Customisation
Personalise your settings for comfort and efficiency. A tailored environment improves focus.
Terminal Integration
Use the integrated terminal for quick commands. This simplify your coding process.
AI Assistance
Windsurf AI is integrated directly into the IDE. Use it to generate, debug and refine code.
Test Your Understanding
Complete Prompt to Explain Selected Code
Complete the prompt to effectively instruct Cursor AI to explain a selected code block within the editor.
You're working in Cursor IDE and have a complex Python function selected in the editor. You want the AI to provide a comprehensive explanation of just this selected code. Fill in the blanks in the prompt below to effectively instruct Cursor AI to analyze the selected segment and detail its functionality. Prompt: "Explain the [BLANK] code in detail. Focus on its purpose, parameters, return value, and [BLANK]."
Term Glossary
4 verified conceptsThe Coding Cockpit
You now understand the layout and customisation options within the Cursor IDE. This help you to code more efficiently with AI assistance.
The Cursor IDE is your coding environment – master it to maximise your AI-powered coding potential.
Next, we'll explore how to write effective prompts for Windsurf AI.
Audio lesson recap
A concise audio summary of this lesson — great for reinforcing key concepts on the go.
Hear it discussed
About three minutes on the ideas in this lesson
Sterling
AI tutor
Vivienne
Sceptical challenger
Press play to start the discussion…
Full transcript · click any line to jump
Tailor Cursor IDE for Workflow Efficiency
Customise settings like font, theme, and keybindings to match your preferences. A comfortable and personalised environment significantly boosts your coding productivity.
Master IDE Layout for Faster Coding
Understand the main sections: Editor, File Explorer, Terminal, and Windsurf AI Chat. This mental model allows for quick navigation and efficient use of AI assistance.
Leverage AI and Terminal for Productivity
Utilise Windsurf AI for code generation and debugging to streamline development. The integrated terminal simplifies command execution, enhancing your workflow.
Ask anything about Cursor IDE Interface Overview. Sterling will answer — concisely, and with his customary level of patience.